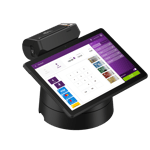
Instructions Cash Register Flex
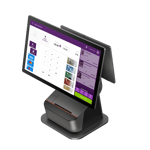
Instructions Cash Register Duo
KLARA POS Desk instructions
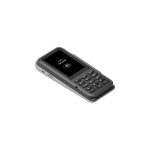
KLARA POS Mobile instructions
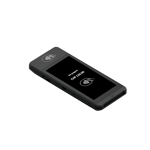
KLARA POS Mobile Mini instructions
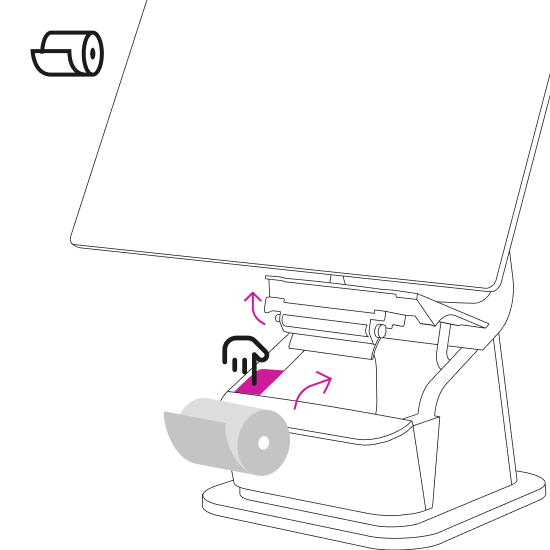
Connection printer with cash register
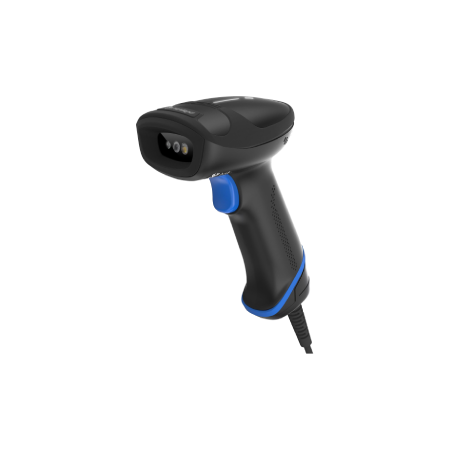
Connect POS with scanner
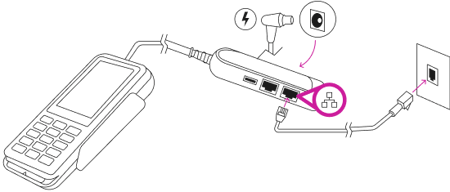
Connection between payment terminal and cash register

To the FAQ
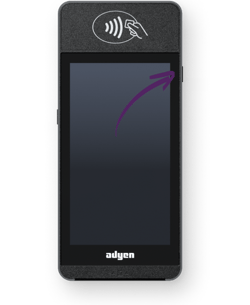
Step 5: switch on the device
Step 6: begin setup
- Sign in with your Google account. If you do not yet have a Google account, you can create one during the process
Step 7: connect your cash register to the KLARA app
Once you have successfully logged in with your Google account, it's time to connect your new cash register to the KLARA app.
Is the KLARA cash register app not yet installed on your cash register? Open the Google Play Store app ![]() , search for the KLARA POS app and download it.
, search for the KLARA POS app and download it.
.png?width=450&height=281&name=Bild%20(3).png)
Transfer this code to the KLARA checkout app.
.png?width=450&height=281&name=Bild%20(4).png)
7.4 At the end, you can choose between the restaurant or store mode.
Catering business (restaurant, bar, etc.) with order assignment of the courses to specific tables and/or take-away mode and connection of several (also external) printers possible
Store mode: You sell items or services and require neither take-away functions nor table orders and a maximum of 1 printer.
Need help?


Step 5: connect your cash register to the KLARA app
Once you have successfully logged in with your Google account, it's time to connect your new cash register to the KLARA app.
Is the KLARA cash register app not yet installed on your cash register? Open the Google Play Store app ![]() , search for the KLARA POS app and download it.
, search for the KLARA POS app and download it.
Transfer this code to the KLARA checkout app.
5.4 At the end, you can choose between restaurant or store mode.
Restaurant mode: For catering businesses (restaurants, bars etc.), with table ordering and/or take-away, supporting multiple printers.
Store mode: For retailers selling items/services; no table or take-away functions etc.
Need help?
.png?width=363&height=245&name=Group%205%20(1).png)
.png?width=346&height=238&name=Group%206%20(1).png)
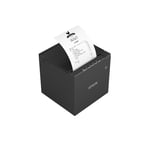
Scope of delivery
1x cable and country-specific mains adapter for charging

1x Ethernet cable
Step 1: Unpacking and checking the device
Step 2: Connect the device
Step 3: Switch on the device
Step 4: Establish a network connection
Make sure that the other end of the Ethernet cable is connected to an active network connection.
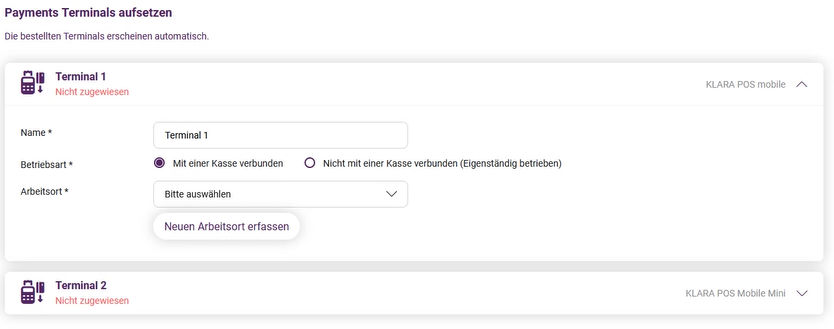
Step 5: Connect the terminal to your cash register
Need help?
Step 1: Unpacking and checking the device
Step 2: Switch on the device
Step 3: Establish a WLAN connection
Step 4: Connect the terminal to your cash register
Need help?
Step 1: Unpacking and checking the device
Step 2: Switch on the device
Step 3: Establish a WLAN connection
Step 4: Connect the terminal to your cash register
Need help?
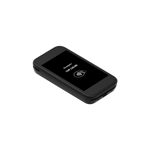
Step 1: Unpacking and checking the device
Step 2: Charge the terminal
Connect the terminal to a power source. Charge the battery for at least four hours while you continue with the next steps.Step 3: Switch on the device
Step 4: Establish a Wi-Fi connection
Step 5: Connect the terminal to your cash register
Need help?

Do you want to scan barcodes that include German umlauts or French accents?


You scan lots of barcodes and don’t want to scan manually every time?
- Set up the scanner stand so you can comfortably hold your items underneath it.
2. Place the scanner on the stand.
3. The scanner automatically switches to automatic mode.
4. Hold an item under the scanner.
5. The scanner automatically scans the barcode.
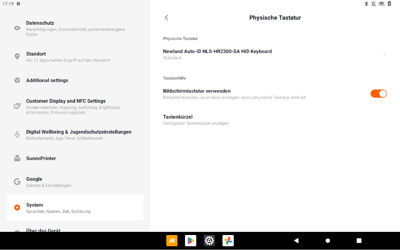
⚠️ Important: The scanner is recognized as a keyboard.
If the on-screen keyboard no longer appears, open the Settings app and go to System > Languages & Input > Physical Keyboard, then enable Show on-screen keyboard.
Need help?
Need help?
Connect the terminal to your KLARA cash register Duo or Flex
Step 1: Prepare the device
Step 2: Connect the cash register
Need help?
Administer
Your administration is done at the click of a mouse - say goodbye to paperwork.
Be known
You inspire with your online presence and win new customers.
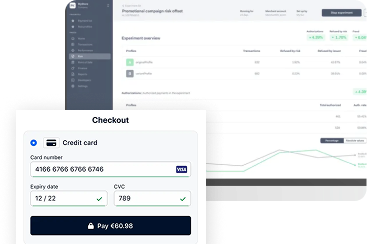
Sell
From quotation to invoicing, everything under control - increase your sales.
Retain customers
Systematically bind your customers to you and turn them into fans.


.png?width=137&name=MicrosoftTeams-image%20(11).png)


